
If you want to know how to build a personal brand, the short version is this: pick a specific niche, say clearly who you help and how, choose one platform, publish useful content on a schedule, and collect an email list you own. The rest is repetition.
This guide covers personal branding for beginners in seven steps, with fill-in templates, a platform comparison table and a 90-day plan. It also sets honest expectations: nobody can promise you followers or income.
A note for readers worldwide: platform features, algorithms, monetization rules and payout methods change often and vary by country. Treat the platform details here as a starting point and check each platform's official help pages.
What Is a Personal Brand?
A personal brand is the reputation you build, online and offline, for a specific skill, perspective or kind of help. It is what people expect from you and remember about you: the topics you are known for, how you communicate, and the value you reliably deliver to a defined audience.
Personal branding is the practice of shaping that reputation on purpose instead of leaving it to chance. You already have a personal brand of some kind: it is what a stranger finds when they search your name. Building one means deciding what they should find.
It is not about fame or follower counts. Here are three illustrative examples of what a focused personal brand can look like:
- A nurse who explains lab results and medical jargon in plain language.
- A freelance designer who documents real rebrand projects from brief to launch.
- A developer who teaches accessibility basics to small-business owners.
None of these needs a huge audience; each is clear about who it serves. (Hypothetical examples, not real people.)
Step 1: Find Your Niche
The most common beginner mistake is trying to speak to everyone. A narrow niche makes you easier to remember, easier to recommend and easier to write for.
Look for the overlap of three things:
- What you know or have done: skills, work experience, lessons from problems you solved.
- What you can talk about for months: a topic you will still enjoy when the novelty fades.
- What a specific group needs help with: check forums, comment sections and search suggestions for repeated questions.
Then narrow it with this formula:
Topic + specific audience + angle
"Budgeting" is a topic. "Budgeting for freelancers with irregular income" is better. "Budgeting for freelancers using one simple spreadsheet" is a niche, and the people it describes will recognize themselves instantly.
If you are unsure, treat your first 30 days as a test. Publish on two or three adjacent angles, then note which questions people ask, which posts get saved or shared, and which topics you enjoy making.
Step 2: Write Your Brand Statement
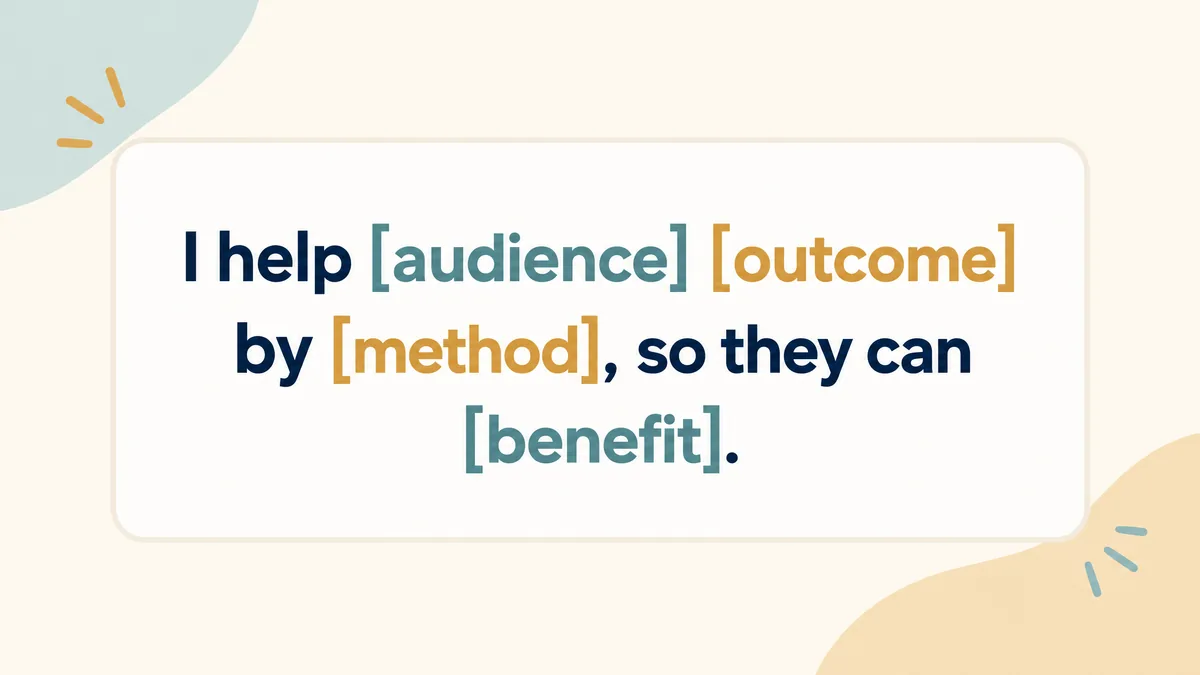
A personal brand statement is one or two sentences that say who you help, with what, and how you are different. It guides every bio, post and pitch you write afterward. Use this fill-in template:
I help [specific audience] [achieve specific outcome] by [your method or angle], so they can [bigger benefit].
Here are three illustrative personal brand statements:
I help first-time freelancers price their work with confidence by sharing real quotes and the reasoning behind them, so they can stop undercharging.
I help busy parents cook healthy weeknight dinners in 20 minutes by teaching one pan, one sauce and one trick at a time, so they can skip the takeout habit.
I help new team managers run shorter, better meetings by sharing agendas and templates that work, so they can get hours back every week.
Keep yours under 25 words and use plain language. Say it out loud to a friend outside your field; if they can repeat it back, it works. Then shrink it into a one-line bio:
[Topic] for [audience]. [Proof or angle].
Use the same name, profile photo and bio line everywhere, so people recognize you wherever they find you.
Step 3: Choose Your Platform
You do not need to be everywhere. Choose one primary platform where your audience already spends time and where you can sustain the format. Add others later.
| Platform | Best for | Main formats | What to expect | Watch out for |
|---|---|---|---|---|
| TikTok | Tips, demos, commentary | Short video | Discovery can be fast, but results vary widely from video to video | Constant output; trends fade quickly |
| YouTube | Tutorials, explainers, search-driven topics | Long-form video, Shorts | Slower start; useful videos can keep getting found over time | Production time; monetization thresholds change |
| Visual niches such as design, food, fashion, travel | Reels, carousels, Stories | Good for a visual portfolio and community | Needs a consistent visual style | |
| Careers, B2B, consulting, expert advice | Text posts, document carousels, short video | Strong for professional credibility and client leads | Less suited to purely entertainment niches | |
| Newsletter or blog | Depth, trust, an audience you own | Email, articles | Slowest start, most control | You must bring your own traffic |
No platform guarantees reach, and each one changes its recommendations often. Choose using three questions:
- Audience: where do they already go for help in your niche?
- Format: will you still enjoy writing, speaking, filming or designing in month six?
- Goal: clients point to LinkedIn or a newsletter, search traffic to YouTube or a blog, and broad reach to short video.
Set Up Your Profiles
To build a personal brand on social media, start with the basics. Use a clear photo or logo, a bio that repeats your brand statement, one link (to your email signup or website), and a pinned post that explains what you share and who it is for. Reply to early comments; they show what your audience cares about.
Step 4: Create Content That Builds Trust
Trust comes from being useful repeatedly. Start with three content pillars, which are recurring themes that keep you focused. Fill in this template:
Pillar 1, Teach: [a problem your audience has] answered with [how-tos, tips, explainers]
Pillar 2, Prove: [results, case studies, behind-the-scenes of your work]
Pillar 3, Connect: [your story, opinions, values, lessons learned]
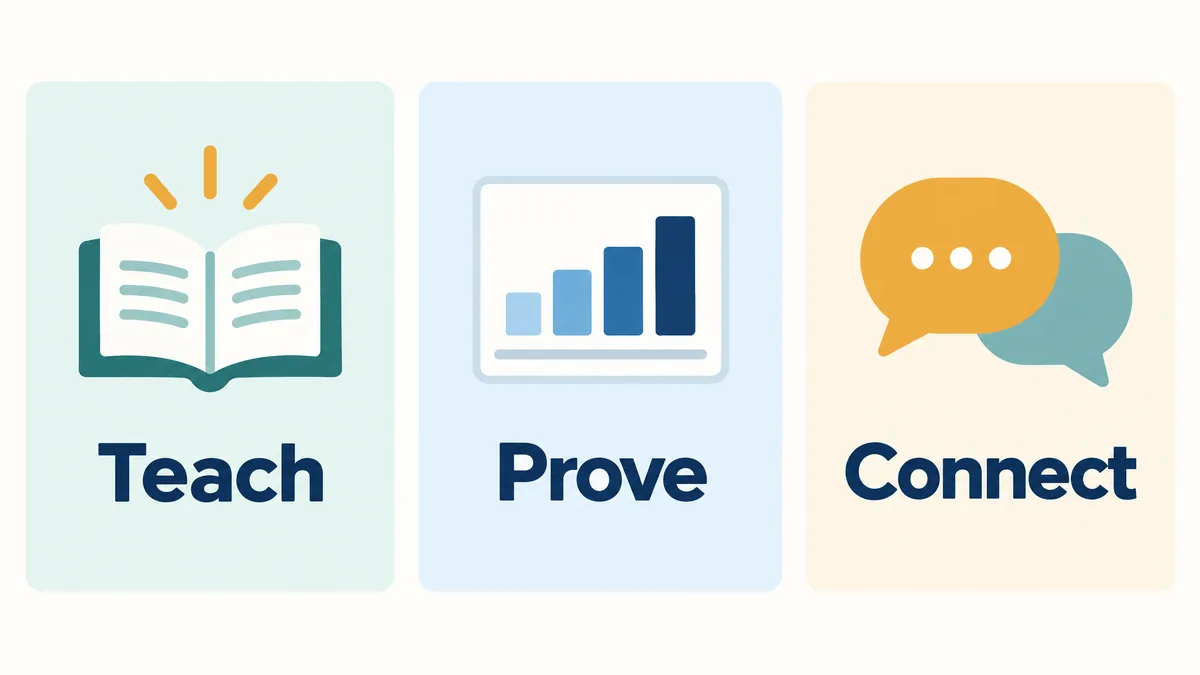
For the freelance designer above, that might be logo tips for non-designers (Teach), before-and-after project breakdowns (Prove), and what losing a client taught them (Connect).
Pick two formats you can sustain, such as short video plus a weekly text post, then repurpose each idea into the other. A simple weekly routine, under three hours in total:
- Monday, 20 minutes: collect five ideas from audience questions, spread across your pillars.
- Tuesday, 90 minutes: create three pieces in one batch.
- Wednesday to Friday, 10 minutes a day: publish and reply to comments and messages.
- Friday, 20 minutes: note what got saves, shares and replies, then adjust.
Choose a pace you can keep for months. One good post a week, sustained, beats a daily burst that ends in burnout.
Step 5: Use AI Without Losing Your Voice
AI is now part of many creators' workflows. Adobe's 2025 Creators' Toolkit Report, based on a global survey of more than 16,000 creators, found that 86% were actively using creative generative AI. Used well, it speeds up the slow parts; used carelessly, it makes you sound like everyone else.
Good uses: brainstorming angles, outlining, turning one long piece into short posts, tightening drafts, and writing captions, subtitles and alt text.
Keep human: your stories, opinions, examples, results and the final edit. Never invent experiences or credentials, and double-check any fact or quote an AI tool gives you.
To keep your tone, create a one-page voice sheet: three adjectives that describe how you sound, words you use and avoid, and three to five of your best posts as samples. Then reuse a prompt like this:
Here is my voice sheet and three sample posts: [paste]. Draft an outline for a post about [topic] for [audience]. Keep my tone, use plain language, and leave placeholders where I should add a personal example. Do not invent facts.
Write the personal parts yourself. Our guide to writing an AI prompt formula for better answers shows how to get stronger drafts, this roundup of AI tools that save hours every week covers what to try, and our ChatGPT, Claude and Gemini comparison can help you choose an assistant. Also check each platform's rules on labeling AI-generated content, which differ by platform and country.
Step 6: Build an Owned Audience
Platforms can change their reach, rules or features at any time. An email list is a direct line to your audience that no feed controls. Start on day one, even if your first ten subscribers are friends.
- Pick an email or newsletter tool; many offer free tiers.
- Give people a clear reason to subscribe, such as a checklist, a template or a weekly lesson in your niche.
- Put the signup link in your bio and pin it.
- Send on a regular schedule, even if short.
- Follow consent and privacy laws where your subscribers live.
An owned audience also lets you keep the relationship going if you ever need a break from feeds. Our piece on quitting social media and digital detox explores why many people are rethinking their screen time.
Step 7: Monetize Your Personal Brand (Honest Options)
Monetize after you have earned trust, not before. And keep expectations realistic: The Influencer Marketing Factory's 2026 Creator Economy Report, based on a survey of 1,000 U.S.-based creators, found that 48.7% earned under $10,000 a year and 5.7% earned $100,000 or more. Income is uneven, and we make no income promises.
Common options:
- Services: freelancing, consulting or coaching. A personal brand works like a public portfolio. Our guide to making money online as an AI-assisted freelancer is a practical starting point.
- Digital products: templates, guides or courses, once you know which problems your audience keeps raising.
- Affiliate links: recommend only tools you actually use.
- Sponsorships: brands pay for access to relevant audiences, usually after you have a track record.
- Memberships or communities: paid access to deeper content or live Q&A.
- Platform payouts: many platforms run partner programs with eligibility thresholds that change and vary by country, so read their official pages before planning around them.
Disclose sponsored posts and affiliate links; the rules differ by country. Combining a few income sources is safer than depending on one platform.
90-Day Starter Plan
Ninety days is enough to build the habit and learn what resonates. It is not a promise of results. Growth timelines vary widely, and many creators describe building real traction over many months rather than weeks.
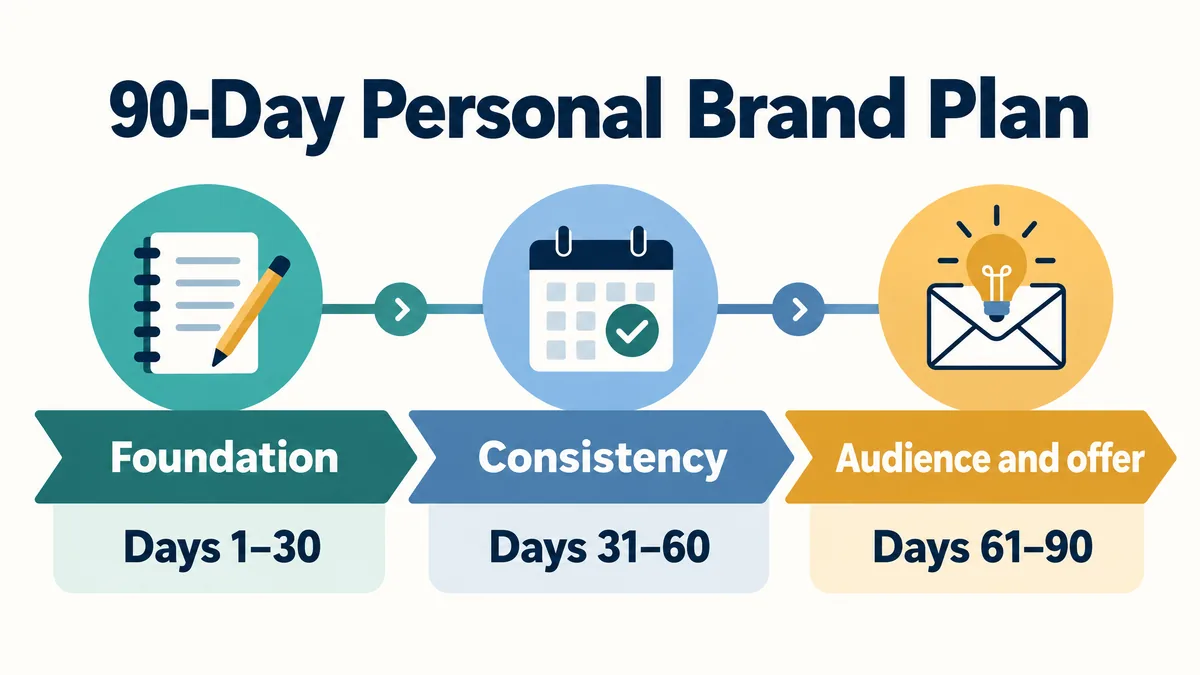
Days 1 to 30: Foundation
- Test two or three niche angles.
- Write your brand statement and bio.
- Set up matching profiles on one primary platform.
- Define your three pillars.
- Publish at the pace you can sustain, such as twice a week.
Days 31 to 60: Consistency
- Keep publishing and review what earned saves, shares and replies.
- Double down on your two best topics.
- Launch an email signup with one simple free resource.
- Reply to every comment and join conversations in your niche.
Days 61 to 90: Audience and offer
- Send your first regular newsletter.
- Ask five followers what they struggle with most.
- Draft one small offer: a service, a template or a paid session.
- Revise your brand statement using what you learned, then set the next 90-day goal.
Mistakes to Avoid
- Staying too broad. If your bio could describe anyone, it describes no one.
- Copying instead of learning. Study creators you admire, then add your own experience.
- Chasing every trend. If it does not fit a pillar, skip it.
- Overstating expertise. Share what you have done and learned, and be clear about the limits.
- Quitting too early. Judge your approach after a full 90-day cycle, not a few posts.
- Building only on rented land. Without an email list, a platform change can undo your progress.
Frequently Asked Questions
What is a personal brand?
A personal brand is the reputation you build for a specific skill, perspective or kind of help. It is what people expect from you and remember about you, shaped by your content, your communication style and the value you consistently deliver.
How do I build a personal brand from scratch?
Choose a narrow niche, write a one-sentence brand statement, pick one platform, publish content around three pillars on a steady schedule, and start an email list. The 90-day plan above breaks this into weekly actions.
How long does it take to build a personal brand?
It varies widely. You can set up the foundations in a few weeks, but audience growth depends on your niche, consistency and timing. Many creators describe slow early months, so judge early progress by habits and feedback.
What is a personal brand statement?
It is one or two sentences saying who you help, what outcome you deliver and how. Template: "I help [audience] [outcome] by [method], so they can [benefit]." Keep it under 25 words and use it in your bios.
Which platform should I pick?
Pick the one where your audience already looks for help and where you can sustain the format. Professional services often suit LinkedIn or a newsletter, visual niches suit Instagram, and tutorials suit YouTube. Start with one.
Can I build a personal brand without showing my face?
Yes. You can use writing, voiceover, screen recordings, carousels, illustrations or a pen name. What matters is a consistent voice and useful content. If constant filming feels draining, our look at camera culture in 2026 offers context.
How do I make money from a personal brand?
Most creators earn through services, digital products, affiliate links, sponsorships or memberships, usually after building trust. Income is uneven and not guaranteed, and payout methods vary by country.
Conclusion: Start Small and Stay Specific
Learning how to build a personal brand comes down to a few repeatable moves: a clear niche, a sentence that says what you do, one platform, steady content and an audience you own. Start this week by filling in the brand statement template above, then set up one profile. Everything else builds from there.